Removing Red Eye on Android: A Comprehensive Guide
The dreaded red-eye effect – a common photography woe that can plague even the most skilled smartphone photographers. It happens when the camera flash reflects off the retina of the subject’s eye, resulting in an unflattering red glow. While professional cameras often have built-in red-eye reduction features, Android phone users often find themselves grappling with this issue. Fortunately, removing red eye on Android devices is easier than ever, thanks to a plethora of apps and built-in tools. This comprehensive guide will walk you through various methods, providing you with the knowledge and tools necessary to eliminate red eye and achieve picture-perfect photos.
Understanding the Red-Eye Effect
Before diving into the solutions, it’s important to understand why red eye occurs. The pupil of the eye dilates in low-light conditions to allow more light in. When a flash is used, the light enters the eye and reflects off the retina, which is rich in blood vessels. This reflected light passes back through the pupil and is captured by the camera, resulting in the red appearance. Factors like the angle of the flash, the distance to the subject, and the ambient lighting can all influence the severity of the red-eye effect. Knowing this helps in preventing it, but when it does happen, knowing how to fix it is key.
Built-in Android Photo Editors
Many Android phones come equipped with built-in photo editors that offer basic red-eye removal tools. These editors are usually sufficient for minor corrections and are a convenient option for quick fixes. Here’s how to use them:
- Open the Gallery App: Locate the photo you want to edit in your phone’s gallery app.
- Access the Editor: Tap the “Edit” button. The location and appearance of this button may vary depending on your phone’s manufacturer and Android version.
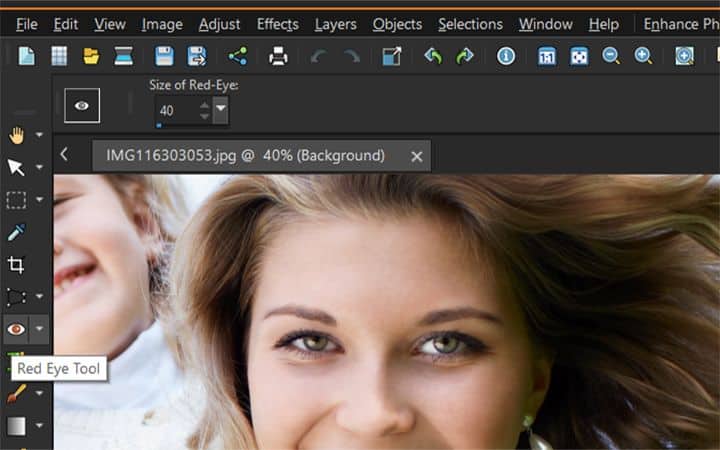
- Find the Red-Eye Tool: Look for a tool labeled “Red-Eye Removal,” “Eye Correction,” or something similar. It may be located within a set of editing features.
- Apply the Correction: Tap on each eye affected by red eye. The editor will automatically attempt to correct the red hue.
- Save the Changes: Once you’re satisfied with the results, save the edited photo. You may have the option to overwrite the original or save a copy.
While convenient, built-in editors may not always provide the most precise or natural-looking results. For more advanced removing red eye on Android, consider using dedicated photo editing apps.
Dedicated Photo Editing Apps for Android
The Google Play Store is teeming with photo editing apps, many of which offer superior red-eye removal capabilities compared to built-in editors. Here are a few of the most popular and effective options:
Adobe Photoshop Express
Adobe Photoshop Express is a free, mobile-friendly version of the industry-standard Photoshop software. It boasts a user-friendly interface and a wide range of editing tools, including a powerful red-eye removal feature. To use it:
- Download and Install: Download Adobe Photoshop Express from the Google Play Store and install it on your Android device.
- Open the App and Import: Launch the app and import the photo you want to edit.
- Select the Red-Eye Tool: Find the “Red Eye” tool in the editing options.
- Tap the Eyes: Tap on each eye affected by red eye. Photoshop Express will automatically detect and correct the red hue, offering a natural-looking result.
- Save Your Work: Save the edited photo to your gallery.
Photoshop Express also offers other advanced editing features, allowing you to fine-tune your photos to perfection. Its red-eye removal tool is known for its accuracy and ease of use. This is a great option for removing red eye on Android.
Snapseed
Snapseed, developed by Google, is another popular and free photo editing app for Android. It offers a comprehensive suite of editing tools, including a selective adjustment tool that can be used to effectively remove red eye on Android. Here’s how:
- Download and Install: Download Snapseed from the Google Play Store and install it.
- Open and Import: Open the app and import the photo you want to edit.
- Use the Selective Tool: Tap on “Tools” and select “Selective.”
- Select the Eye: Tap on the eye affected by red eye. A small circle will appear.
- Adjust Brightness and Saturation: Pinch to adjust the size of the circle to encompass the red area. Then, swipe vertically to adjust the brightness and saturation. Reduce the saturation and slightly darken the area to eliminate the red hue.
- Repeat for the Other Eye: Repeat the process for the other eye.
- Save Your Changes: Save the edited photo.
Snapseed’s selective tool offers more control over the correction process, allowing you to achieve a more natural and precise result. While it may require a bit more practice than dedicated red-eye removal tools, the results can be well worth the effort. The app provides a flexible approach to removing red eye on Android.
YouCam Perfect
YouCam Perfect is a beauty-focused photo editing app that includes a dedicated red-eye removal tool. It’s particularly popular for selfie editing and offers a range of features for enhancing portraits. Here’s how to use it for removing red eye on Android:
- Download and Install: Download YouCam Perfect from the Google Play Store.
- Open and Import: Open the app and import the photo.
- Find the Red-Eye Tool: Locate the “Red Eye” tool, usually found within the “Beautify” or “Retouch” section.
- Tap the Eyes: Tap on each eye affected by red eye. The app will automatically correct the red hue.
- Adjust and Save: Make any necessary adjustments and save the photo.
YouCam Perfect is known for its ease of use and its ability to quickly correct red eye. It’s a great option for users who want a simple and effective solution. It also offers other beauty enhancements, if desired.
Preventing Red Eye
While removing red eye on Android is relatively easy, preventing it in the first place is always the best approach. Here are some tips:
- Use Natural Light: Whenever possible, use natural light instead of the camera flash.
- Increase Ambient Lighting: If you must use a flash, increase the ambient lighting in the room. This will cause the pupils to constrict, reducing the likelihood of red eye.
- Move Away from the Subject: Increase the distance between the flash and the subject. This changes the angle at which light reflects into the lens.
- Use a Diffuser: Attach a diffuser to your flash to soften the light. This will reduce the intensity of the reflection.
- Have the Subject Look Slightly Away: Ask the subject to look slightly away from the camera lens. This will change the angle of reflection and reduce the chance of red eye.
- Use Red-Eye Reduction Mode: Many Android phones have a built-in red-eye reduction mode. This mode emits a series of pre-flashes that cause the pupils to constrict before the main flash fires.
Advanced Techniques
For more complex cases of red eye, or if you desire a higher level of control, consider using more advanced photo editing techniques. These techniques often involve using layers, masks, and color adjustments to achieve a seamless and natural-looking result. [See also: Advanced Photo Editing on Android]
Using Layers and Masks
Advanced apps like Adobe Lightroom Mobile allow you to use layers and masks to selectively edit specific areas of the photo. This can be particularly useful for removing red eye on Android, as it allows you to target the affected area with precision.
Color Adjustments
You can also use color adjustment tools to desaturate the red hue in the eyes. This involves selecting the red color range and reducing its saturation, effectively neutralizing the red-eye effect. [See also: Color Correction Tips for Mobile Photography]
Conclusion
Removing red eye on Android is a common task that can be easily accomplished using a variety of methods. Whether you opt for a built-in editor, a dedicated photo editing app like Adobe Photoshop Express or Snapseed, or advanced techniques involving layers and masks, the tools are readily available to help you achieve flawless photos. By understanding the causes of red eye and employing preventative measures, you can minimize the need for post-processing. However, when red eye does occur, you now have the knowledge and resources to effectively eliminate it, ensuring that your photos always look their best. The key is to experiment with different apps and techniques to find what works best for you and your specific needs. So go ahead, snap away, and don’t let red eye ruin your memories!
